I recently realized that I have never discussed graphics programming on this blog, and decided it was time to correct this. A few years ago, Android 13 introduced the RuntimeShader API that allows you to write custom GPU shaders and apply them to UI elements. In this blog post I will show you how this API can be used to simulate shadows projected by the user’s finger (or stylus/pointing device) onto your UI.
The video below shows the effect in action in a simple demo app:
The shadow projected by the (virtual) finger is a soft shadow that reacts to a fixed light source I positioned at the top of the screen. In this second video you can see that the shadow becomes more pronounced when moved closer to the light source:
The implementation allows to customize the length, size, and orientation of the finger, the position and angular size of the light source, and various other parameters.
Faking a finger Link to heading
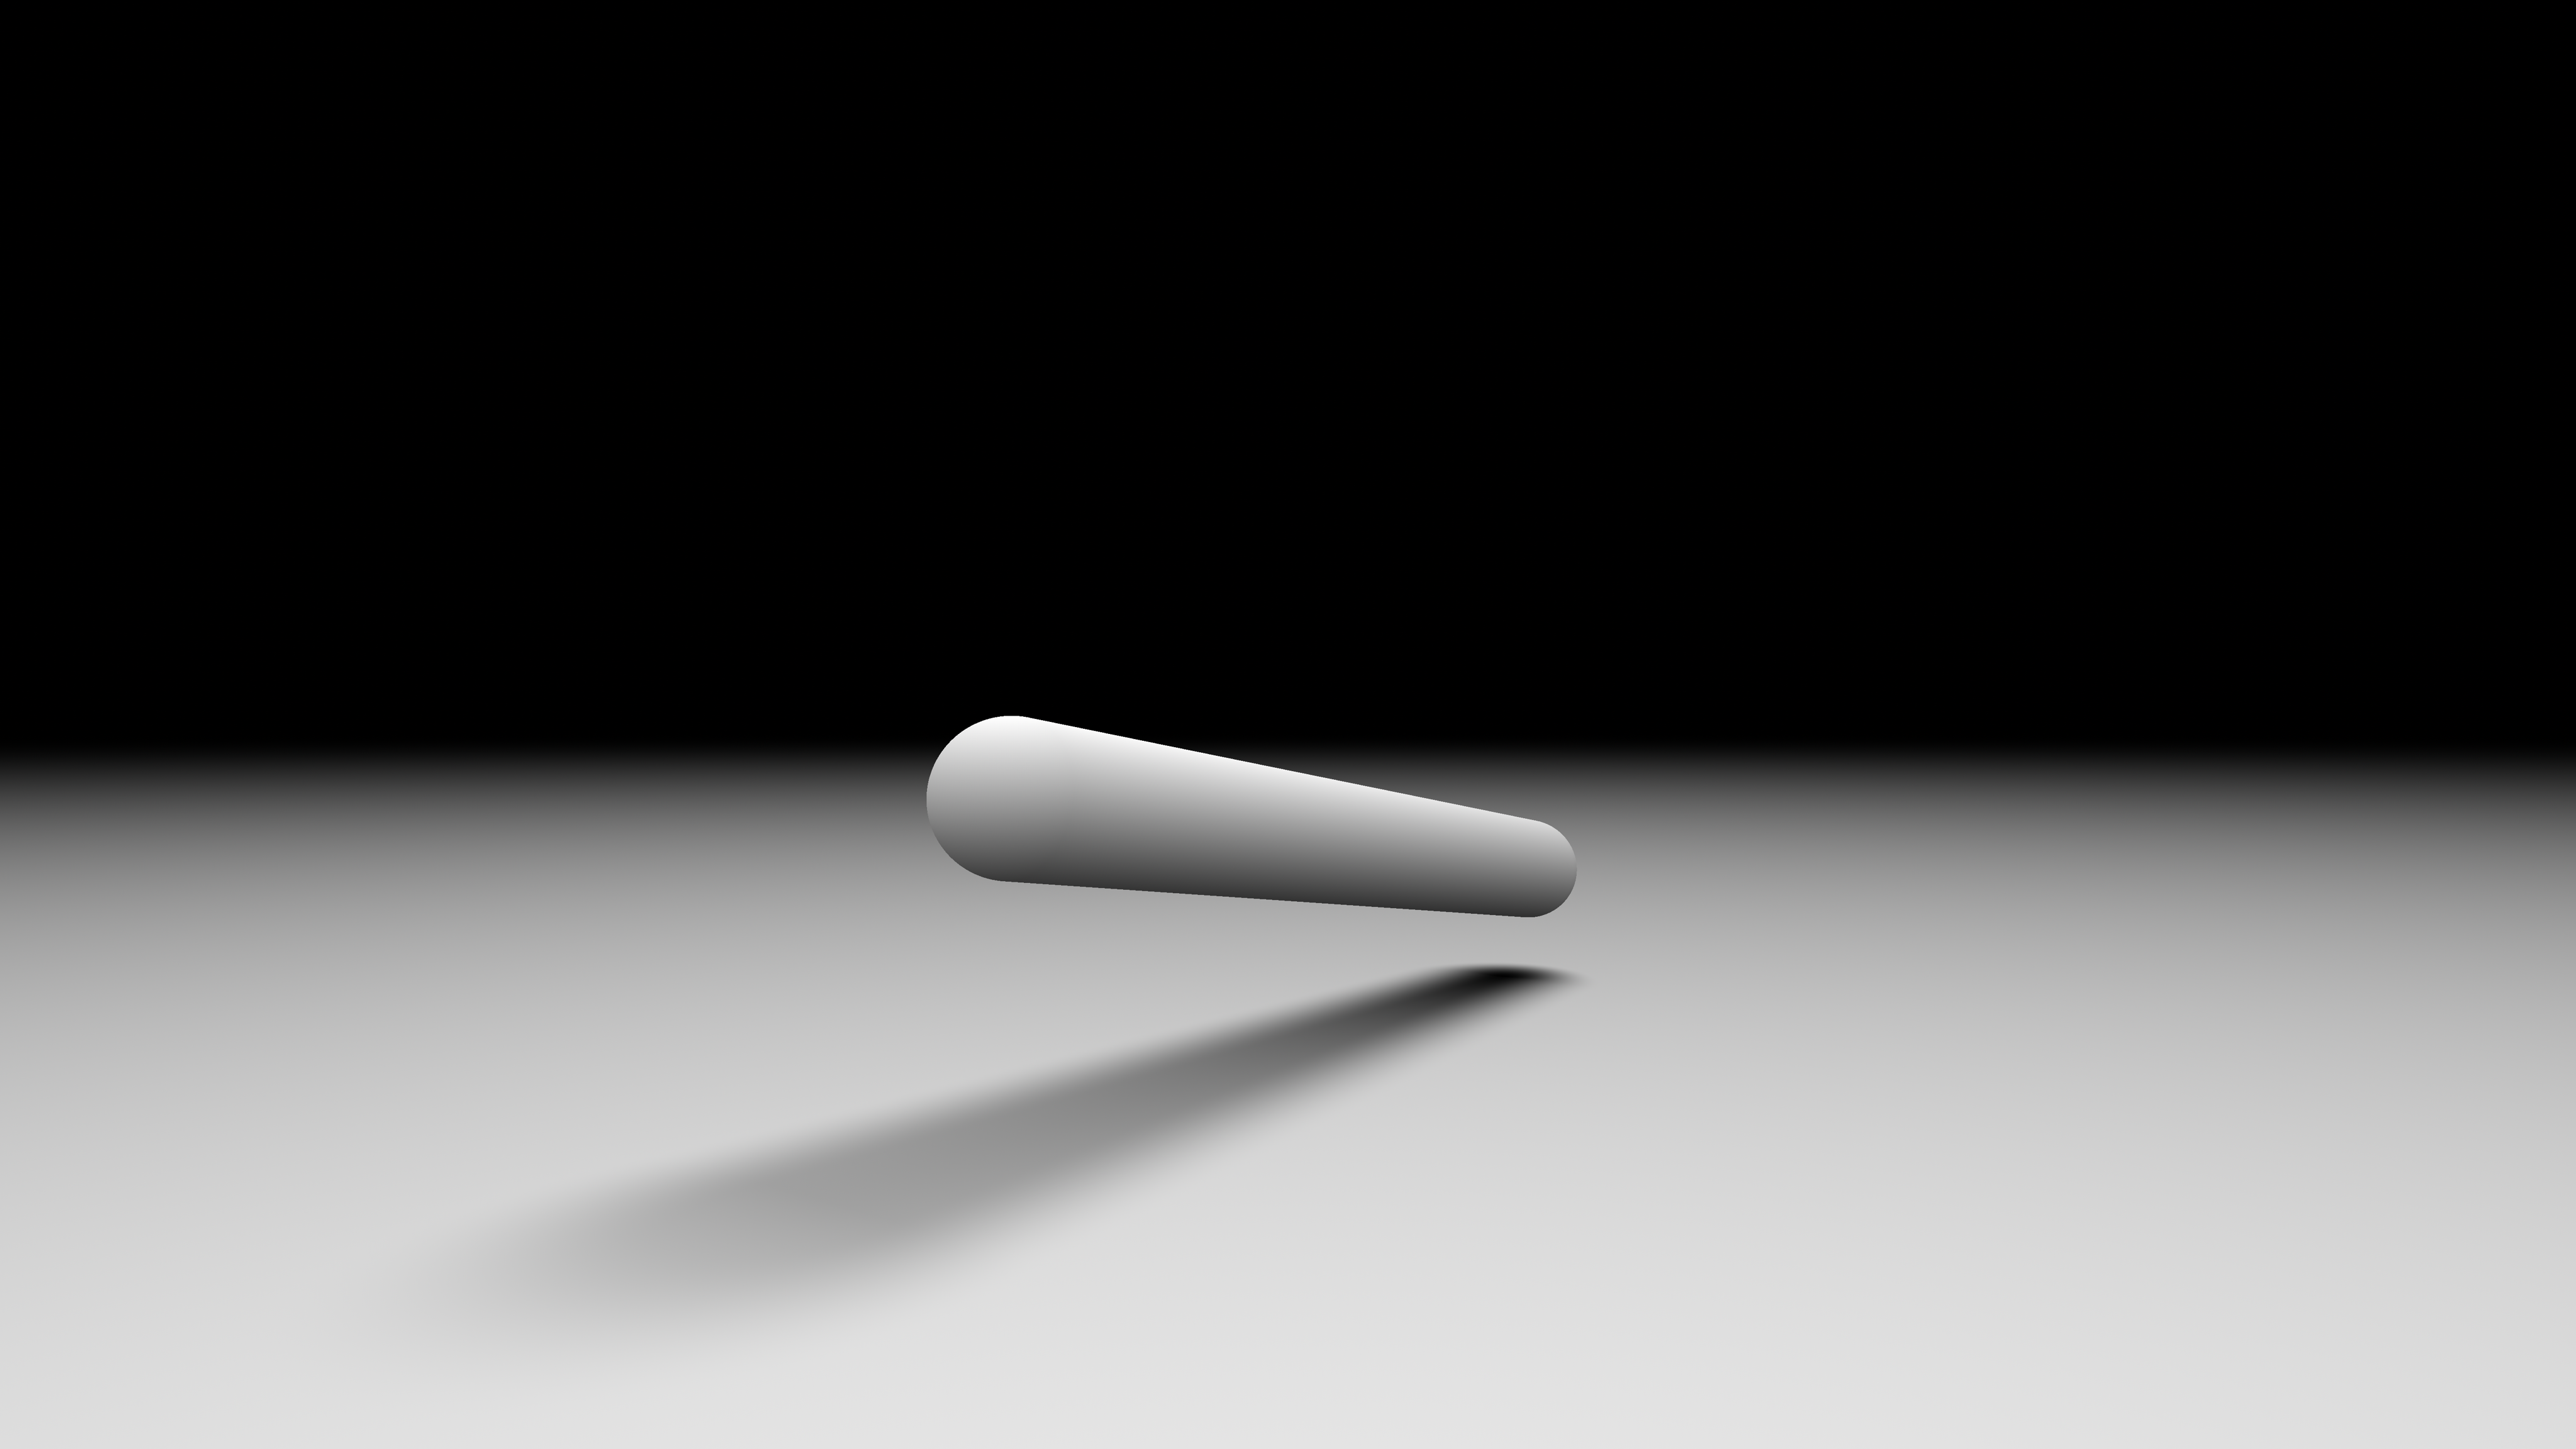
The image below shows how the implementation models the user’s finger: as an oriented capsule in 3D space. By moving one end of the capsule to where we know the user’s finger to be when receiving pointer input events, we can render a somewhat accurate shadow.
Soft shadows Link to heading
To render the soft shadow, this implementation computes the visibility of the light source from the point of view of every point on the screen. That computation is done by tracing a cone towards the light source. The cone’s spread is defined by its angular aperture. Using a small aperture will produce hard shadows, and the larger the aperture, the smoother the shadows.
A benefit of this approach is that it will automatically generated hardened contact shadows: the closer an occluder is to the shadowed surface, the harder the shadow will be. You can see this effect in the image above, or in the shadertoy I used as a test environment.
Using a capsule to represent the occluder (the user’s finger) and a cone to represent the potential visibility of the light source, we must compute the intersection of a capsule with a cone, and figure out what percentage of the cone is intersecting.
The problem can be simplified by computing the intersection of two spherical caps:
- Our cone will be a spherical cone.
- Our capsule can be represented as a sphere extruded along a line segment. We can therefore find the intersection of the center of our cone with the capsule to find a representative sphere for the occlusion test.
To compute the intersection of the two spherical caps, I used the equations from Ambient Aperture Lighting published in 2007 by Oat and Sander. This is the same technique I had already used in Filament to compute specular ambient occlusion from surface roughness.
Shader Link to heading
The final shader is below:
  1layout(color) uniform half4 backgroundColor;
  2layout(color) uniform half4 shadowColor;
  3uniform vec3 fingerPosition;
  4uniform float fingerSquareRadius;
  5uniform vec3 fingerDirection;
  6uniform float fingerLength;
  7uniform vec3 lightConeDirection;
  8uniform vec2 lightConeAngle;
  9uniform vec2 size;
 10uniform vec4 fadeDistance;
 11
 12const float PI = 3.1415927;
 13
 14float sq(float x) {
 15    return x * x;
 16}
 17
 18float acosFast(float x) {
 19    // Lagarde 2014
 20    // "Inverse trigonometric functions GPU optimization for AMD GCN architecture"
 21    // This is the approximation of degree 1, max absolute error of 9.0x10^-3
 22    float y = abs(x);
 23    float p = -0.1565827 * y + 1.570796;
 24    p *= sqrt(1.0 - y);
 25    return x >= 0.0 ? p : PI - p;
 26}
 27
 28float acosFastPositive(float x) {
 29    // Lagarde 2014
 30    // "Inverse trigonometric functions GPU optimization for AMD GCN architecture"
 31    float p = -0.1565827 * x + 1.570796;
 32    return p * sqrt(1.0 - x);
 33}
 34
 35float sphericalCapsIntersection(
 36    float cosCap1,
 37    float cosCap2,
 38    float cap2,
 39    float cosDistance
 40) {
 41    // Oat and Sander 2007, "Ambient Aperture Lighting"
 42    float r1 = acosFastPositive(cosCap1);
 43    float r2 = cap2;
 44    float d  = acosFast(cosDistance);
 45
 46    if (min(r1, r2) <= max(r1, r2) - d) {
 47        return 1.0 - max(cosCap1, cosCap2);
 48    } else if (r1 + r2 <= d) {
 49        return 0.0;
 50    }
 51
 52    float delta = abs(r1 - r2);
 53    float x = 1.0 - saturate((d - delta) / max(r1 + r2 - delta, 0.0001));
 54
 55    float area = sq(x) * (-2.0 * x + 3.0);
 56    return area * (1.0 - max(cosCap1, cosCap2));
 57}
 58
 59float directionalOcclusionSphere(
 60    in vec3 pos,
 61    in vec4 sphere,
 62    in vec3 coneDirection,
 63    in vec2 coneAngle
 64) {
 65    vec3 occluder = sphere.xyz - pos;
 66    float occluderLength2 = dot(occluder, occluder);
 67    vec3 occluderDir = occluder * inversesqrt(occluderLength2);
 68
 69    float cosPhi = dot(occluderDir, coneDirection);
 70    float cosTheta = sqrt(occluderLength2 / (sphere.w + occluderLength2));
 71
 72    float occlusion =
 73        sphericalCapsIntersection(
 74            cosTheta, coneAngle.x, coneAngle.y, cosPhi) / (1.0 - coneAngle.x);
 75    return occlusion;
 76}
 77
 78float directionalOcclusionCapsule(
 79    in vec3 pos,
 80    in vec3 capsuleA,
 81    in vec3 capsuleB,
 82    in float capsuleRadius,
 83    in vec3 coneDirection,
 84    in vec2 coneAngle
 85) {
 86    vec3 Ld = capsuleB - capsuleA;
 87    vec3 L0 = capsuleA - pos;
 88    float a = dot(coneDirection, Ld);
 89    float t = saturate(dot(L0, a * coneDirection - Ld) / (dot(Ld, Ld) - a * a));
 90    vec3 posToRay = capsuleA + t * Ld;
 91
 92    return directionalOcclusionSphere(
 93        pos, vec4(posToRay, capsuleRadius), coneDirection, coneAngle);
 94}
 95
 96half4 main(float2 fragCoord) {
 97    // World position
 98    vec3 position = vec3((2.0 * fragCoord - size) / vec2(max(size.x, size.y)), 0.0);
 99    vec3 fingerEnd = fingerPosition + fingerDirection * fingerLength;
100
101    float occlusion = directionalOcclusionCapsule(
102        position,
103        fingerPosition,
104        fingerEnd,
105        fingerSquareRadius,
106        lightConeDirection,
107        lightConeAngle
108    );
109
110    // Attenuate the shadow based on the square distance to the light
111    vec3 posToLight = fadeDistance.xyz - position;
112    float distanceSquare = dot(posToLight, posToLight);
113    float factor = distanceSquare * fadeDistance.w;
114    float smoothFactor = max(1.0 - factor * factor, 0.0);
115    float attenuation = (smoothFactor * smoothFactor) / max(distanceSquare, 1e-4);
116    attenuation *= occlusion;
117
118    return shadowColor * attenuation +
119        (1.0 - attenuation * shadowColor.a) * backgroundColor;
120}
This shader is used as a Brush applied to a simple rectangle drawn on a Canvas:
 1@Composable
 2fun ShadowPointer(
 3    fingerPosition: Float3,
 4    fingerDirection: Float3,
 5    fingerLength: Float,
 6    fingerRadius: Float,
 7    lightPosition: Float3,
 8    lightAngle: Float,
 9    fadeDistance: Float,
10    modifier: Modifier = Modifier,
11    backgroundColor: Color = Color.White,
12    shadowColor: Color = Color.Black
13) {
14    val shader = remember { RuntimeShader(CapsuleSoftShadowShader) }
15    val brush = remember(
16        fingerPosition,
17        fingerDirection,
18        fingerLength,
19        fingerRadius,
20        lightPosition,
21        lightAngle,
22        backgroundColor,
23        shadowColor
24    ) {
25        ShaderBrush(shader)
26    }
27
28    shader.setColorUniform("backgroundColor", backgroundColor.toArgb())
29    shader.setColorUniform("shadowColor", shadowColor.toArgb())
30    // Skipped: setting all the other uniforms
31
32    Canvas(modifier) {
33        shader.setFloatUniform("size", size.width, size.height)
34        drawRect(brush, Offset.Zero, size)
35    }
36}
Were this to be used in production, I would likely turn this into a custom Modifier so it could
be applied as the background of any composable, instead of stacking two Canvas
(one for the shadow and one for the user’s drawing).
Where is the finger? Link to heading
While this implementation uses the pressure information to fade the shadow in and out, the orientation of the finger is constant. Android offers APIs to query the orientation and the tilt of the input device but they are not exposed in Compose. I am also unsure of how accurate these APIs are across devices (if they are even supported!). For instance, the pressure information can be correlated with the orientation when it’s derived from the “footprint” of the touch event and not measured from actual pressure information.
The finger could also be better approximated by modeling multiple phalanges using multiple capsules. The implementation contains code commented out to support 2 phalanges and it looks somewhat decent on an actual device, but I don’t think it is worth the added performance cost and implementation/API complexity.
Source code Link to heading
If you want to experiment with this effect and play with the various parameters, you can download the source code from GitHub.